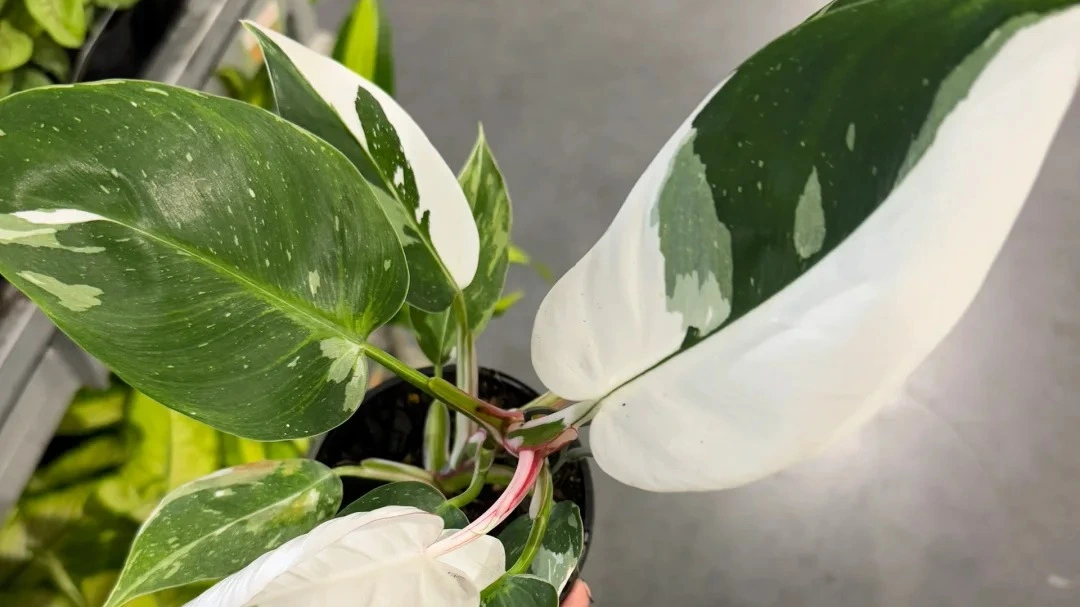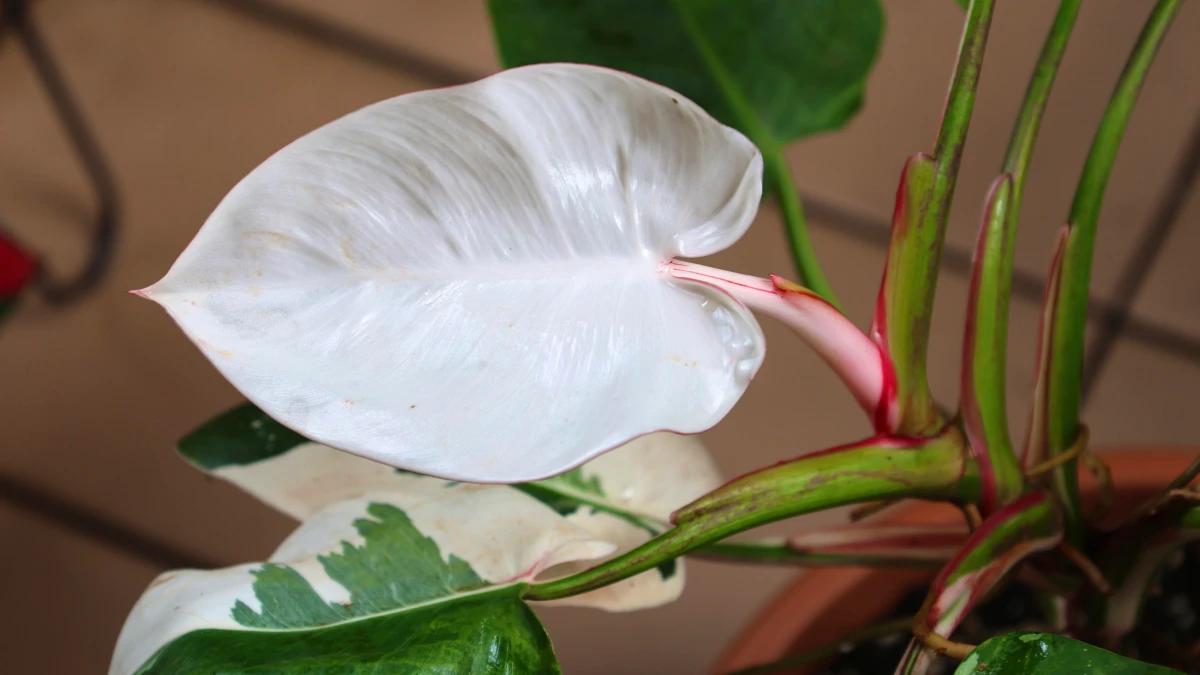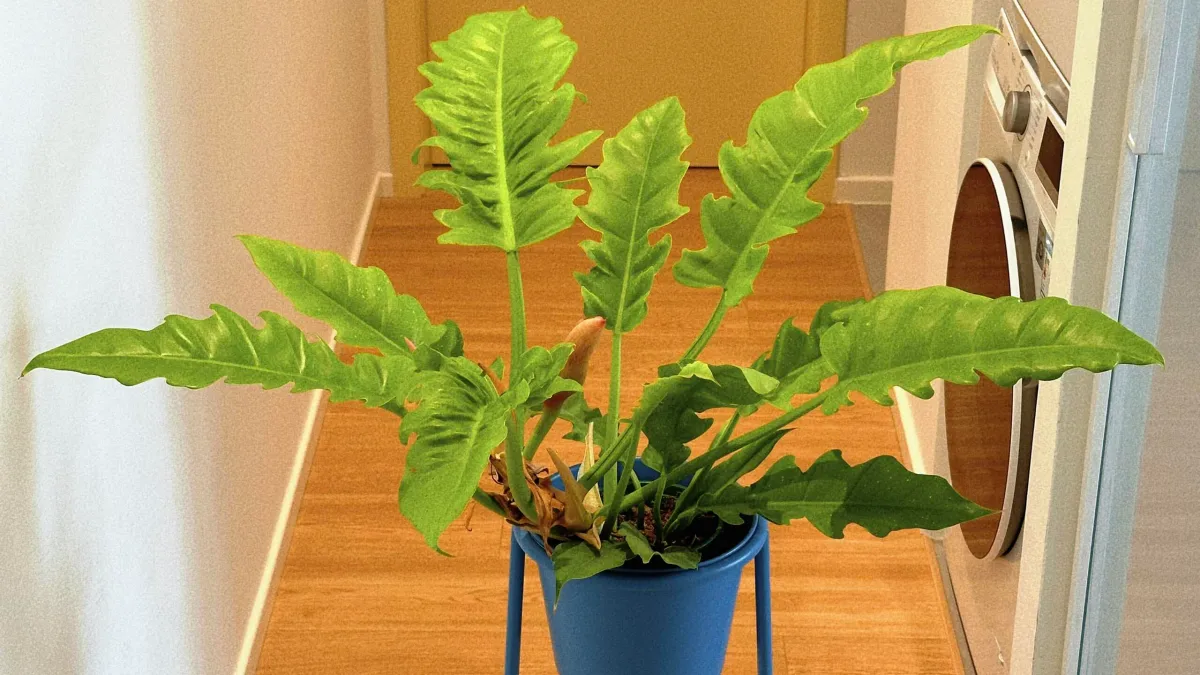
Philodendrons are often said to “love a moss pole,” and that part is true. The hard part is not deciding whether to add one. The hard part is actually doing it without snapping the stem, disturbing the roots too much, or ending up with a setup that looks awkward and works poorly.
This is not a general explanation of why climbing philodendrons like support. It is simply the method I use when I put one on a moss pole myself. I care much more about the practical details — how dry I let the pot get first, how I remove the plant, how I position the pole, and how I secure the stem without damaging the leaves.
The approach in this guide works well for most small to medium climbing philodendrons. I’ll walk through how I prepare the plant, size up the pot, fix the lower pole in place, fill the pot, add the upper section, and handle watering afterward, along with the small details that make the final result much easier to live with.
When I Decide a Philodendron Is Ready for a Moss Pole
I usually add a moss pole when a philodendron starts acting like it wants support, not just because it technically belongs to a climbing type. For me, the clearest signs are when the stem begins to lean forward or sideways, the plant starts producing visible aerial roots, or the internodes begin stretching enough that the whole plant looks less compact.
Another good time to consider a pole is when the leaves stop sizing up the way you want, or the plant starts looking loose and scattered instead of upright and structured. In that stage, giving it something to climb can do more than just tidy the plant up. It can change the way the whole plant grows.
That said, I do not think every aroid needs to go on a pole immediately. This kind of setup makes the most sense for small to medium climbing philodendrons that are clearly ready to attach and grow upward. If the plant is still compact, stable, and not showing any real climbing behavior yet, I would not rush it just for the sake of adding a pole.
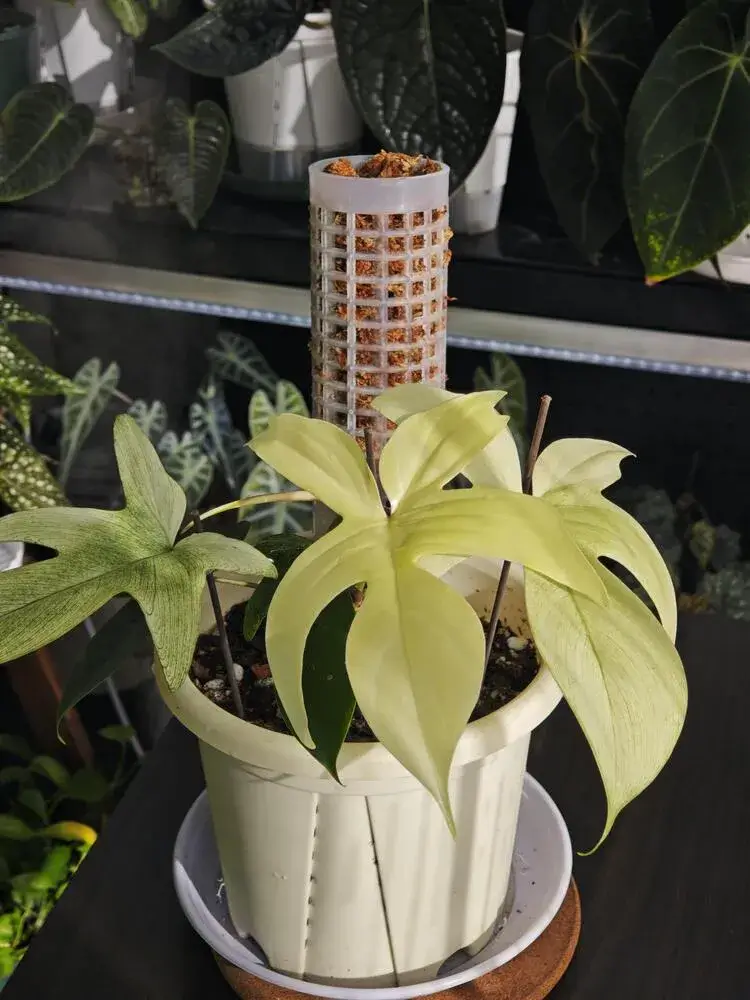
What I Prepare Before Repotting and Adding the Pole
I try to keep the setup simple. The goal is not to gather every possible tool. It is to have the few things that actually make the process easier and safer for both the plant and the final structure.
The plant
Before I start, I usually stop watering for about three days. I do not let the pot go completely dry. I just want the mix to be slightly drier than usual, because that makes the plant much easier to handle when repotting begins.
The pot
Because the moss pole takes up space inside the pot, I usually size up by about two pot sizes rather than reusing something close to the original size. In this setup, I moved the plant from a 13 cm pot to a 21 cm well-ventilated plastic pot with side holes.
I like using a pot with extra side ventilation because it helps the mix stay more breathable after repotting, especially once the pole and the added moisture from the moss are part of the setup.
The pole and ties
For the support itself, I prepare the moss pole first and make sure I have zip ties ready before I start repotting. I fix the lower section of the pole to the side of the pot, usually with two tie points — one higher and one lower — so it does not wobble once the plant is in place.
That part matters more than people sometimes expect. If the lower pole is not fixed securely from the beginning, the whole setup becomes harder to position neatly later.
The potting mix
I also prepare the soil mix in advance so I am not trying to blend it halfway through the repotting process. I do not need an overly complicated recipe here, just a mix that stays airy enough for a climbing philodendron without drying out too aggressively.
I cover the full soil recipe separately, so in this guide I only focus on how I use it during the pole setup itself.
Drainage layer
At the bottom of the pot, I add a layer of pumice. I use it as a drainage and airflow layer, especially in a larger pot where I want the base to stay a little more open.
It is a simple step, but in this kind of setup I find it helpful. Once the pole, the plant, and the new mix are all in place, I want the bottom of the pot to stay as workable and breathable as possible.
Step-by-Step: How I Put a Philodendron on a Moss Pole
Step 1: Let the potting mix dry slightly first
Before I start, I let the potting mix dry slightly for about three days. I do not want it bone dry. I just want it a little drier than normal.
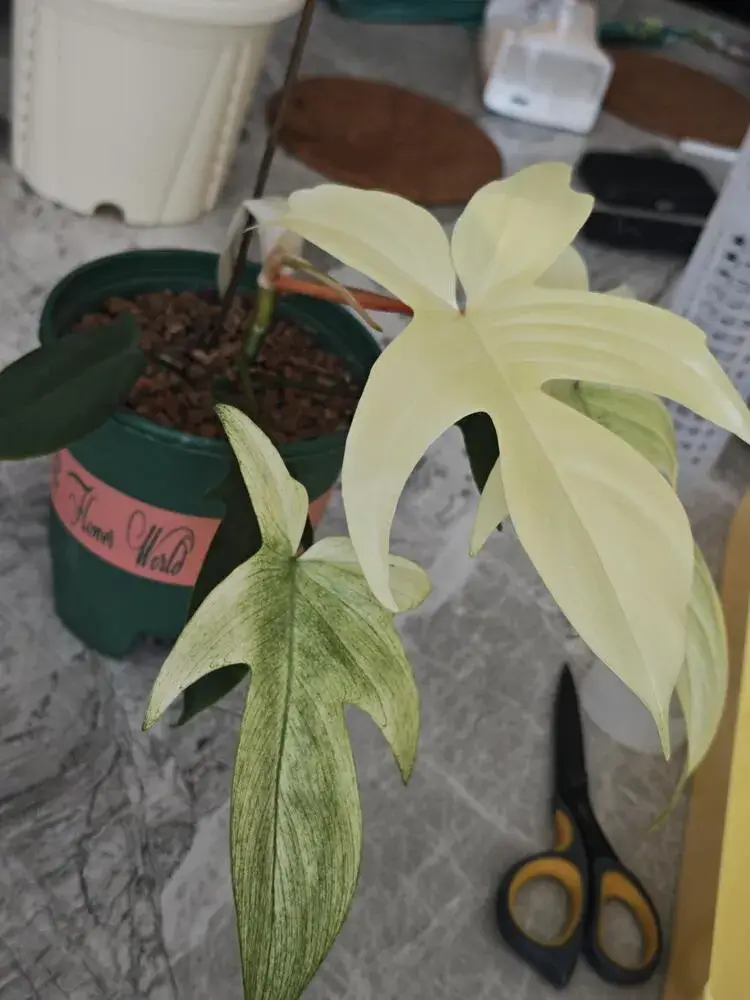
That makes the whole job easier. The plant usually comes out of the pot with less resistance, the roots separate more cleanly from the old mix, and the stem feels a bit less soft and brittle while I am handling it. For me, this is one of the simplest ways to make the repotting process less stressful.
Step 2: Remove the plant gently and shake off excess soil
When I am ready to take the plant out, I tap and squeeze the sides of the pot first to loosen the root ball. At the same time, I support the plant at the base of the stem and pull it out carefully.
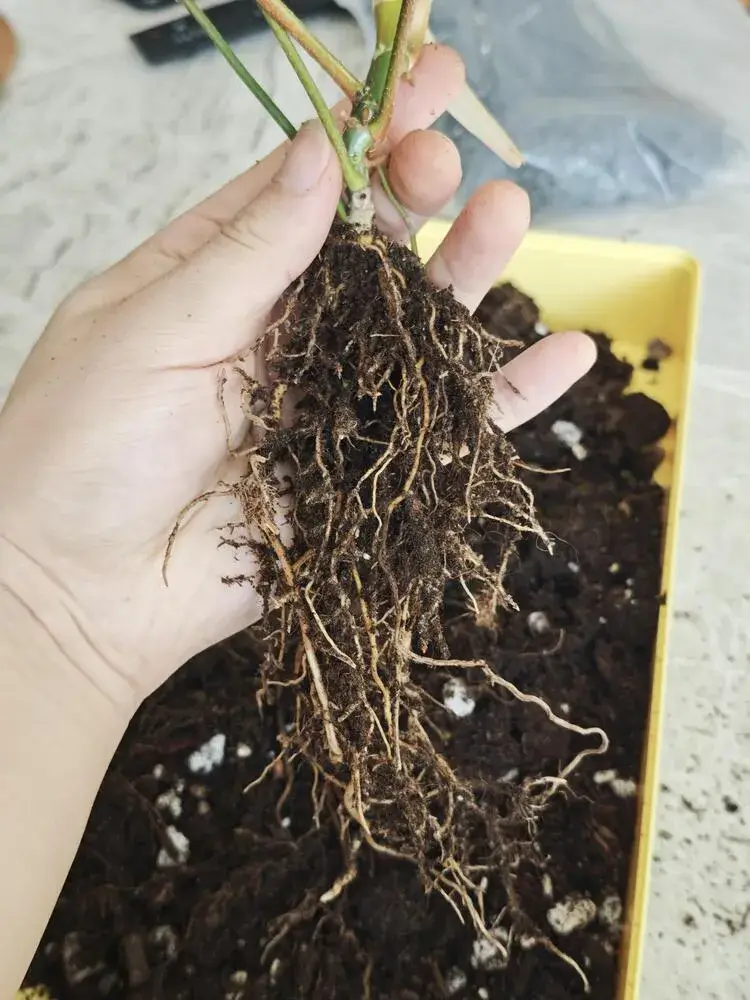
Once the plant is out, I gently shake off the loose soil around the roots. I do not try to strip everything away aggressively. I just remove enough old mix to see the root structure more clearly and to make it easier to reposition the plant in the new pot. If the roots need a little untangling, I separate them slowly with my fingers rather than pulling them apart by force.
Step 3: Choose a larger pot and add a drainage layer
Because the moss pole takes up space inside the pot, I usually move the plant into a pot that is about two sizes larger than the original one. In this case, I went from a 13 cm pot to a 21 cm well-ventilated plastic pot with side holes.
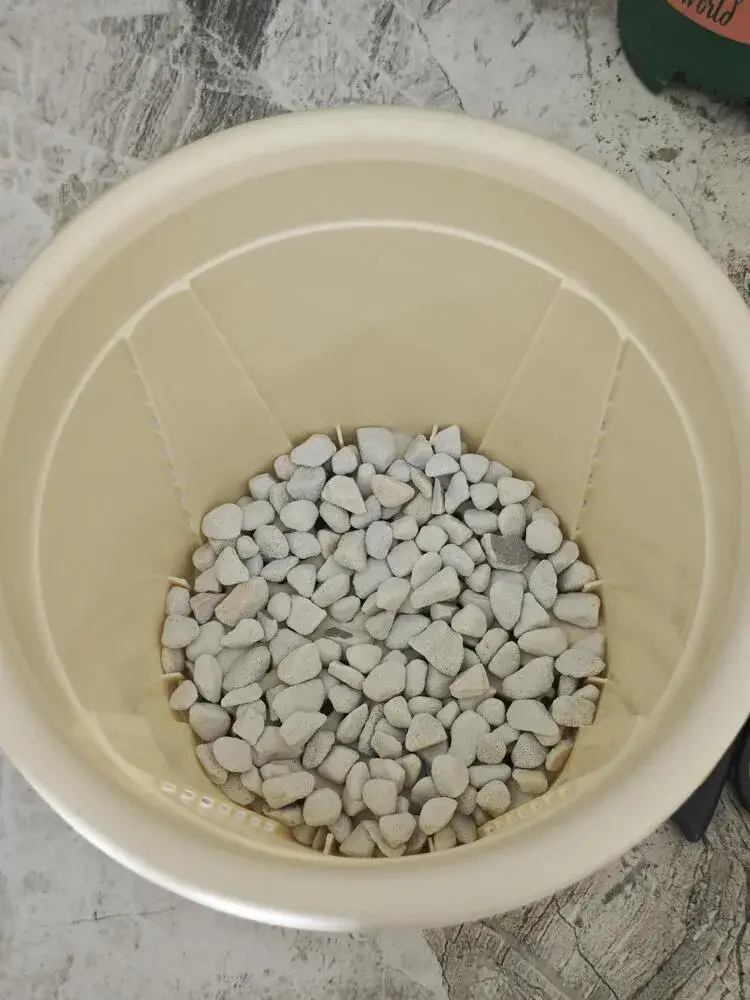
At the bottom of the pot, I add a layer of pumice. I use it as a simple drainage and airflow layer so the base of the setup does not feel too heavy once the larger pot, the fresh mix, and the moss pole are all in place.
Step 4: Fix the lower moss pole in place before anything else
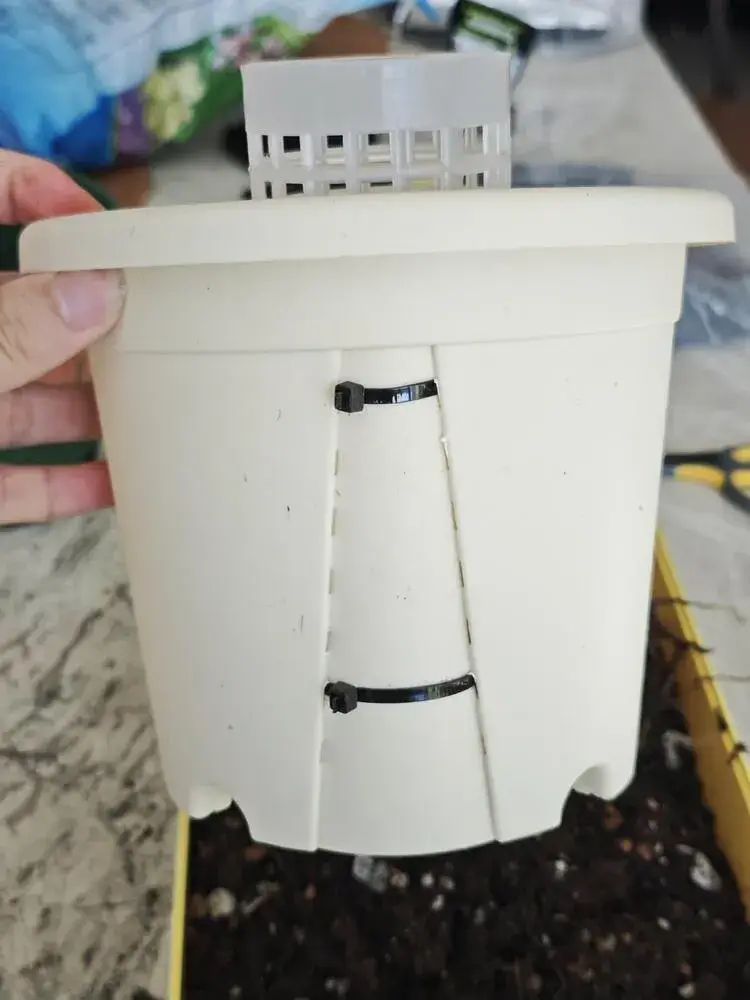
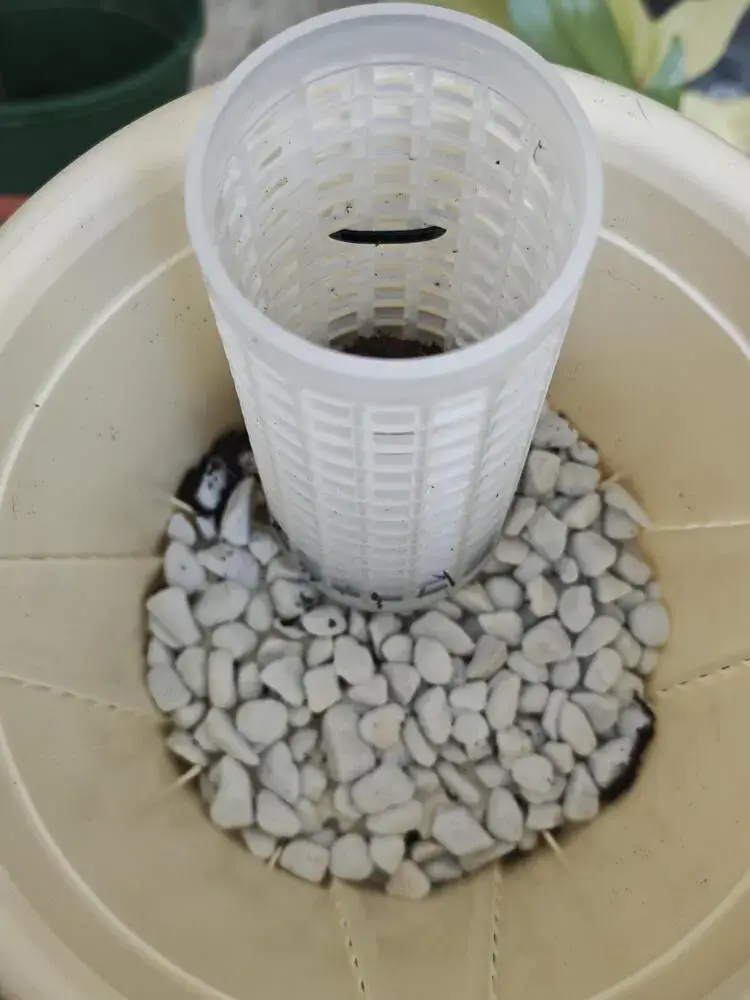
This is one of the most important parts of the whole setup. Before I position the plant, I secure the lower section of the moss pole to the side of the pot with zip ties, usually at two points so it stays stable.
I try to get this lower section as firm and straight as possible, but not perfectly upright. I prefer a slight backward lean. That small angle matters more than people think, because it affects how the plant will present itself later. As the stem climbs upward and the leaves enlarge, they naturally lean forward. If the lower pole already tilts slightly back, the final shape usually looks more balanced and less top-heavy.
For me, this is not just a structural detail. It is one of the things that affects the final look of the plant the most. If the lower pole is loose or set at an awkward angle, it becomes much harder to correct later.
Step 5: Position the plant and guide the roots
Once the lower pole is fixed, I place the plant into the pot and adjust its height and angle before adding too much soil. I want the stem to sit naturally against the pole, with the root system spread comfortably inside the pot rather than cramped to one side.
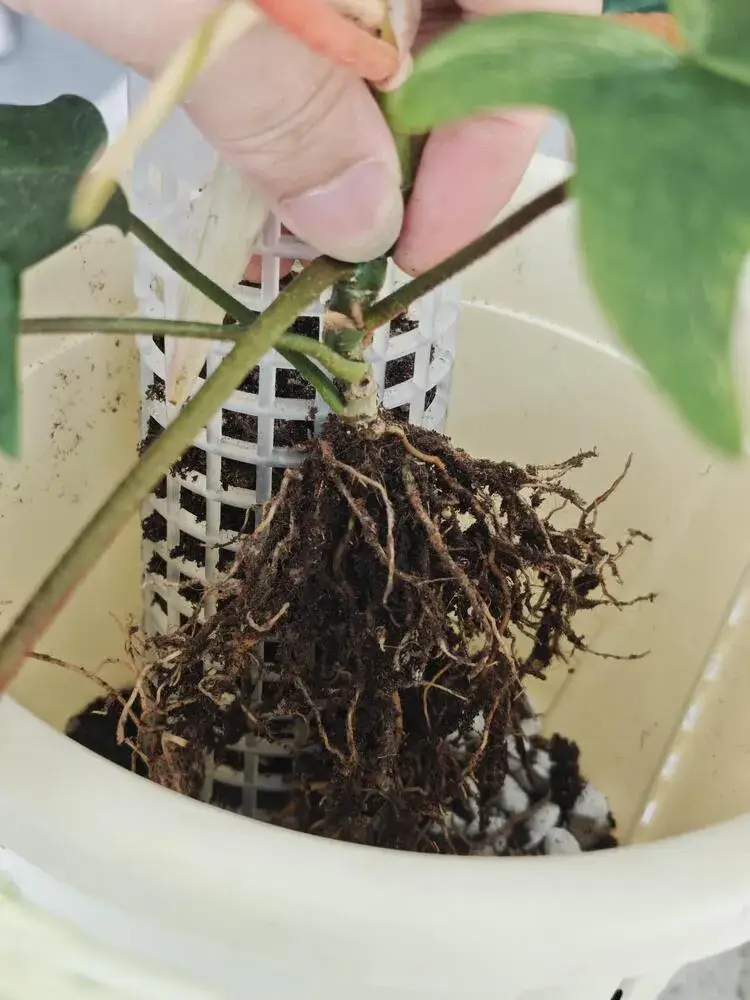
As I position the plant, I guide some of the aerial roots toward the moss pole so they have a chance to grow into it later. Then I use zip ties to secure the stem.
One thing I am very careful about here: tie the main stem, not the petiole. If the tie sits on a leaf stalk instead of the main stem, it can damage the leaf or interfere with future growth. The goal is to support the plant, not squeeze the parts that still need to move and expand.
Step 6: Fill the pot and lower pole with soil mix
Once the plant is sitting where I want it, I start filling the pot with the prepared soil mix. I add it gradually rather than dumping everything in at once.
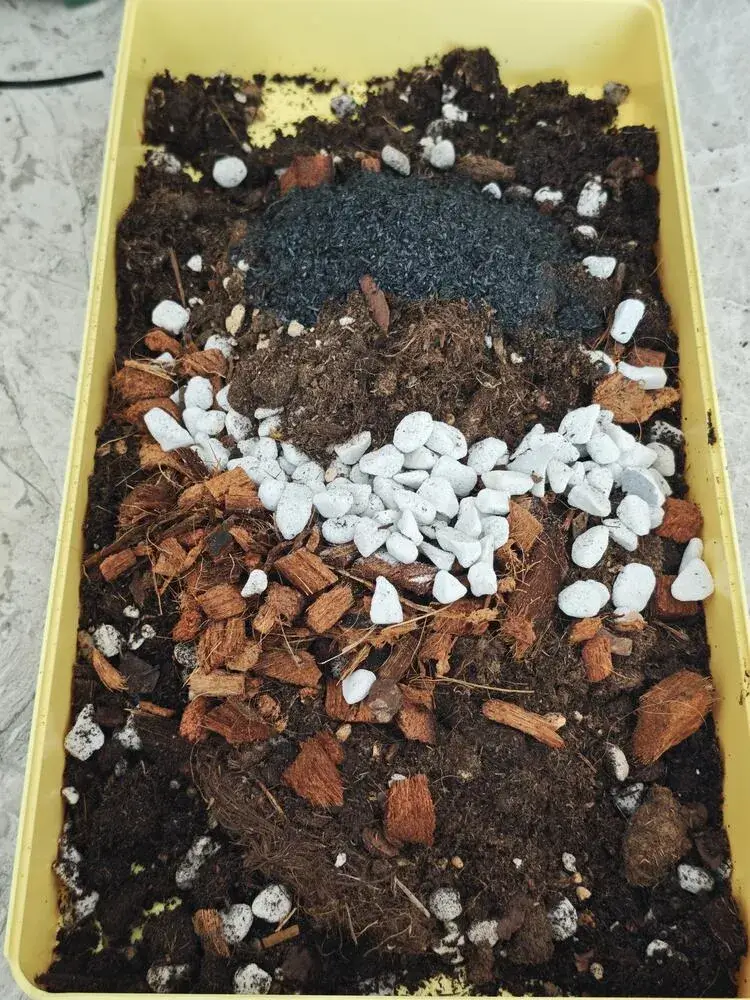
As I go, I tap the outside of the pot so the mix settles into the gaps around the roots and around the lower section of the pole. I want the structure to feel filled and stable, but not packed down so tightly that all the air disappears. The main thing I try to avoid is leaving large empty spaces that make the setup unstable or awkward to water later.
Step 7: Add the upper moss pole section
After the lower section is in place, I prepare the upper moss pole section. If I think I may want to propagate the plant later, I add a separator piece near the bottom of that upper section before attaching it. I make small holes in the separator and fix it in place so it acts as a barrier inside the pole.
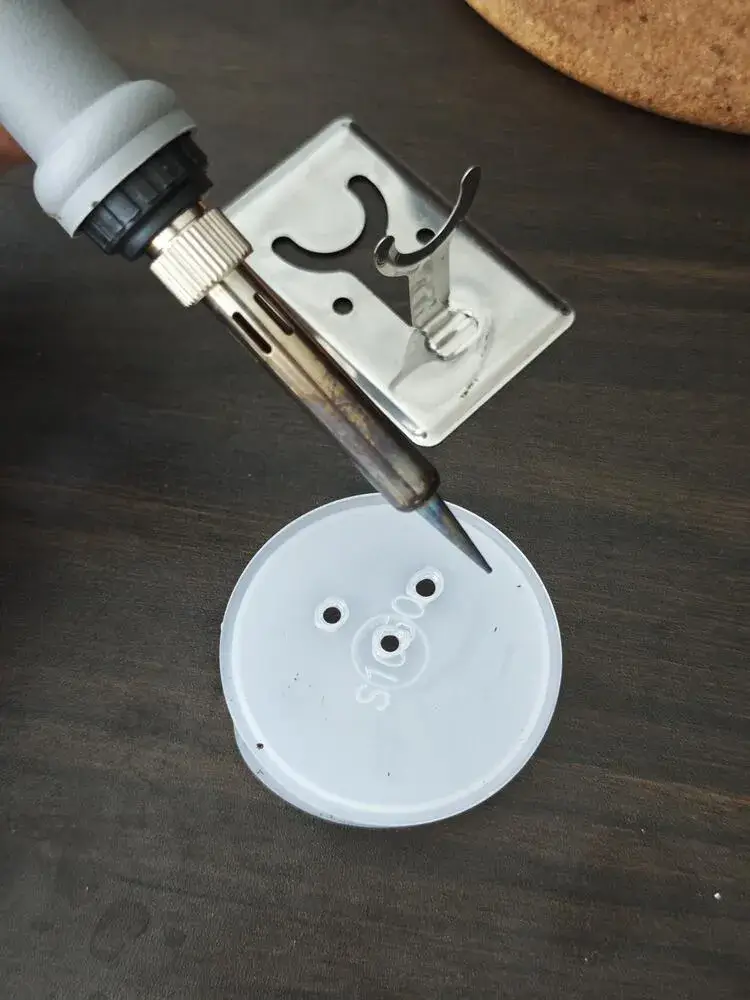
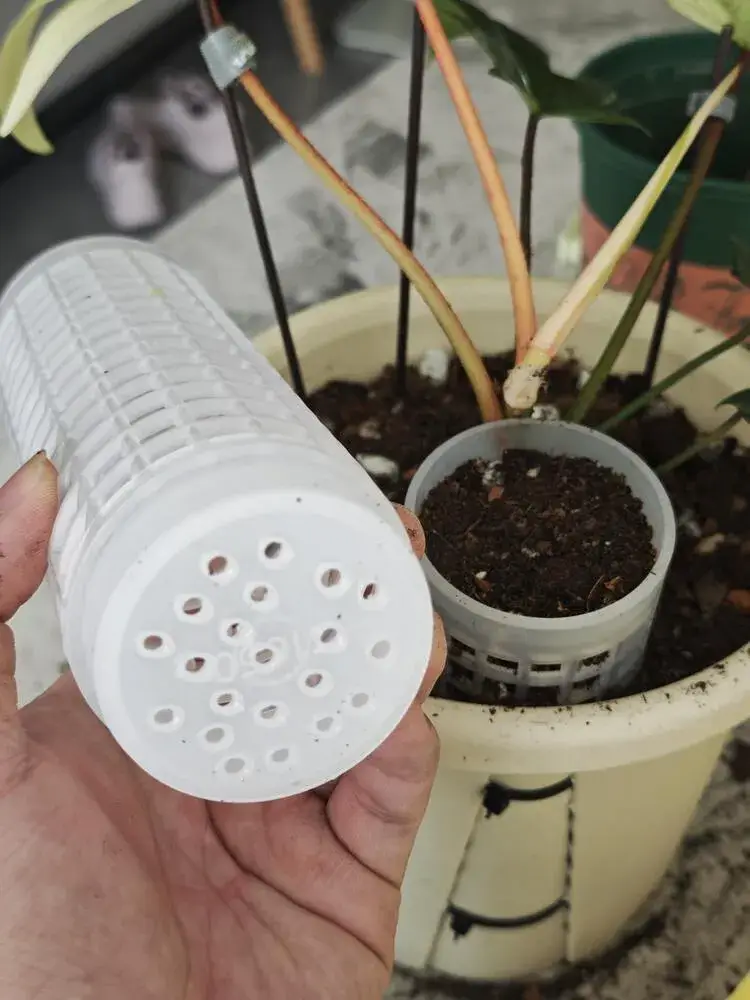
The reason I do this is simple: without that barrier, roots can grow all the way through the pole and become much more difficult to separate later if I want to cut and propagate the plant. If propagation is not part of the plan, this step is optional.
Inside the upper section, I use moss that is only lightly moist. I do not pack it in soaking wet. I want it hydrated enough to be usable, but not so wet that the whole pole turns into a cold, soggy column. Once it is prepared, I attach the upper section to the lower one and finish aligning the whole support system.
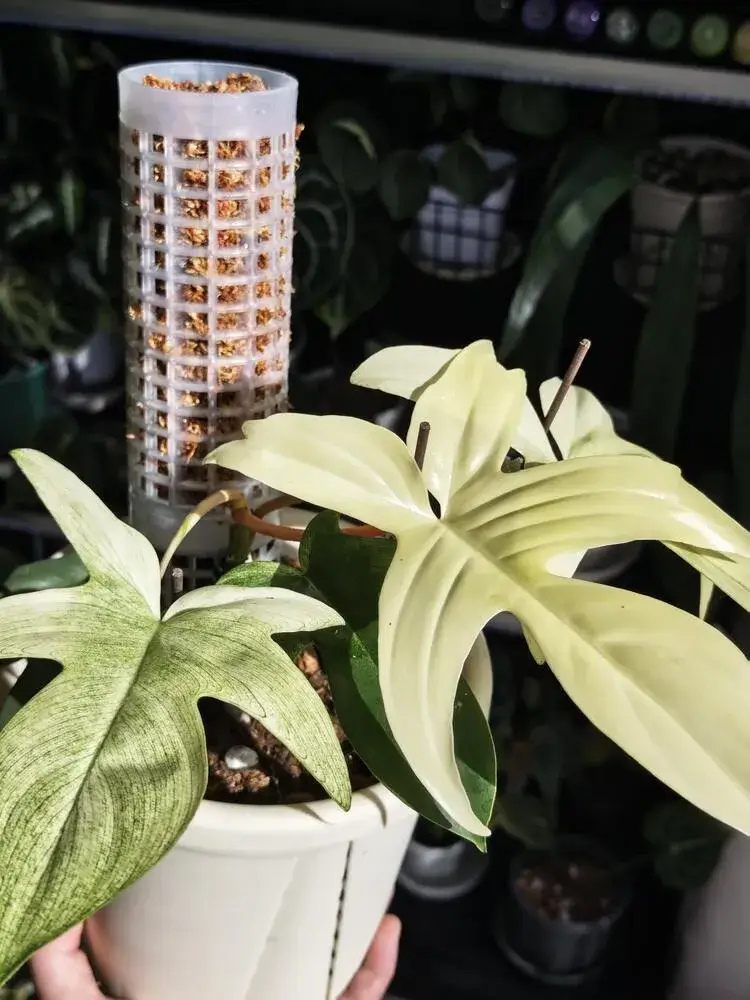
The Small Details That Matter More Than People Think
Slightly dry soil is easier to work with than wet soil
One of the biggest practical differences happens before the repotting even starts. If the mix is still very wet, the root ball is usually heavier, messier, and harder to handle cleanly. The roots cling to the old soil more tightly, and the whole plant feels a little more awkward to move around.
When the mix is slightly dry instead, everything becomes easier. The plant usually comes out of the pot more cleanly, the roots are easier to sort through, and the stem feels less soft while I am repositioning it. For me, this one small timing choice makes the whole process calmer.
The angle of the pole affects the final look of the plant
This is one of the details I think many quick tutorials skip, but it matters a lot. The lower section of the pole does more than just hold the plant upright. It sets the line the whole plant will follow later.
If the pole is fixed with a slight backward lean, the plant usually grows into a shape that looks more natural and balanced. As the leaves size up and start leaning forward, the whole plant has a better visual posture. If the pole is too upright or loosely placed, the top can end up looking heavy and awkward.
Tying the petiole instead of the stem can damage new growth
This is an easy mistake to make when you are trying to secure the plant quickly. The leaf stalk may look like a convenient place to tie, but that is not where I want the support pressure to go.
I always tie the main stem, not the petiole. The petiole still needs freedom to move as the leaf positions itself and as new growth emerges. If it gets pinned or squeezed, the leaf can twist, scar, or grow in a distorted way. Supporting the stem keeps the plant stable without interfering with the parts that still need to move.
A separator inside the pole can save a lot of trouble later
If I think I may want to propagate the plant in the future, I add a separator inside the upper section of the pole. It is a small step, but it can save a lot of frustration later.
Without it, roots can grow all the way through the moss pole and become deeply tangled inside. That may be fine if the plant is staying in one piece forever, but if I later want to cut and root sections, untangling everything becomes much harder. A simple barrier keeps the upper and lower sections more manageable without changing how the pole works day to day.
How I Water a Philodendron After Adding a Moss Pole
After the setup is finished, I actually find watering easier, not harder. I usually add water from the top of the moss pole with a narrow-spout bottle, which makes it much easier to control where the water goes.
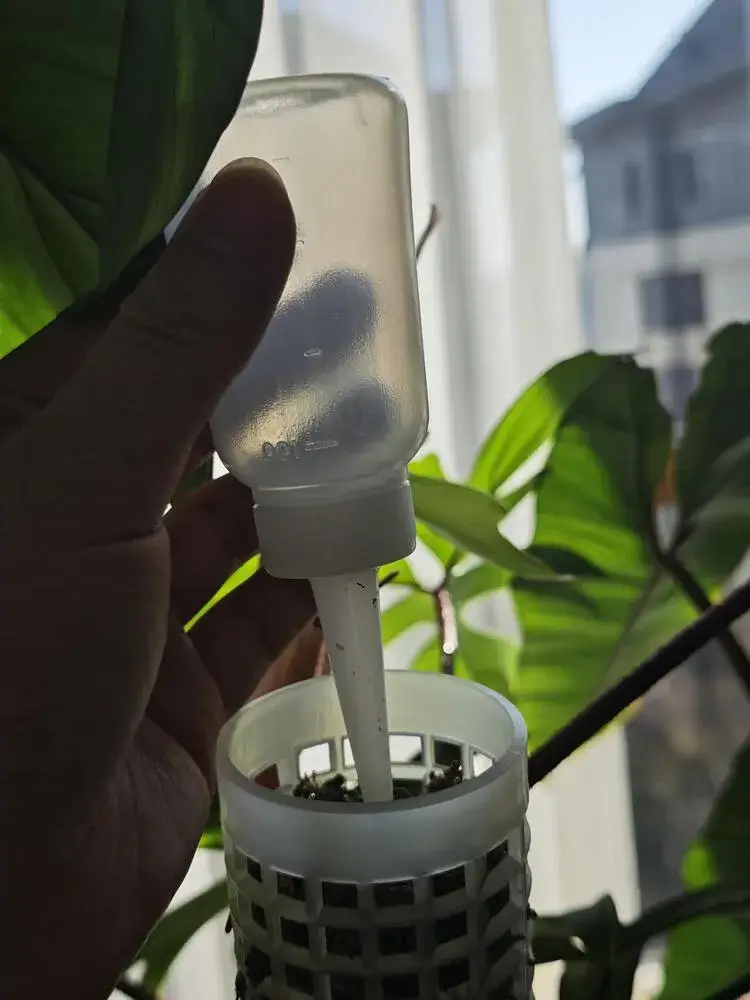
The main thing I try to avoid is letting the pole dry out so completely that it turns hard and stops being useful to the plant. I just top it up regularly and keep it lightly moist instead of waiting for it to become bone dry.
At the same time, I do not treat the potting mix and the pole as if they always dry at the same speed. I watch them separately. The pole may need water before the pot does, and the pot may still be holding moisture even when the moss is starting to dry.
In summer, I tend to mist the pole and foliage more often because everything dries faster and the plant is actively growing. In winter, I do much less, and even without a greenhouse cabinet or extra humidifier, I’ve still had plants stay in good shape as long as the overall setup is stable.
What Changed After I Put My Philodendron on a Moss Pole
The clearest example for me was a Black Gold Philodendron I put on a moss pole last year. The difference over about five months was very noticeable.
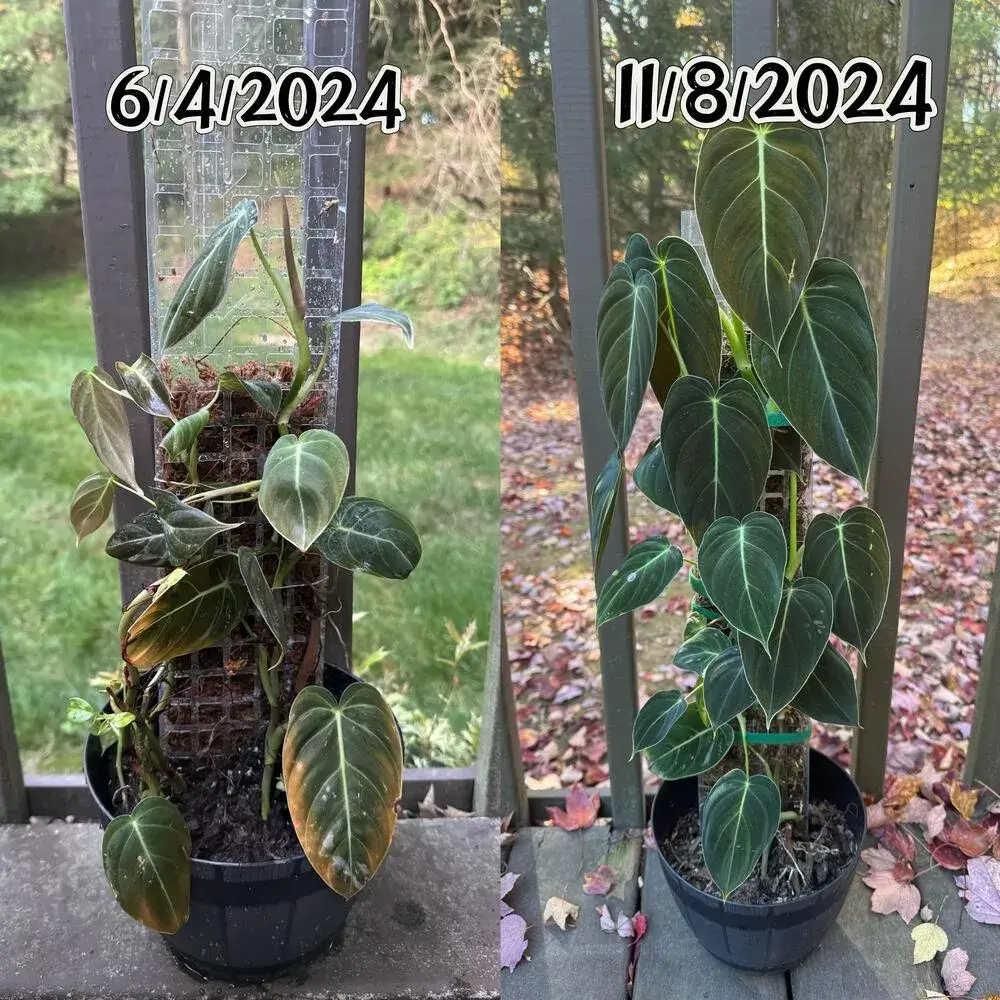
Before it had support, the plant was not in terrible shape, but it did not look especially strong either. Some of the leaves were a bit yellow, the growth felt less directed, and the overall plant looked more like it was managing than really climbing.
After I put it on the pole, the change became much easier to see, especially through summer. The plant started producing more leaves, the leaves got larger, and the whole growth pattern looked more purposeful. It was not just growing upward. It looked like it finally had a structure it actually wanted to use.
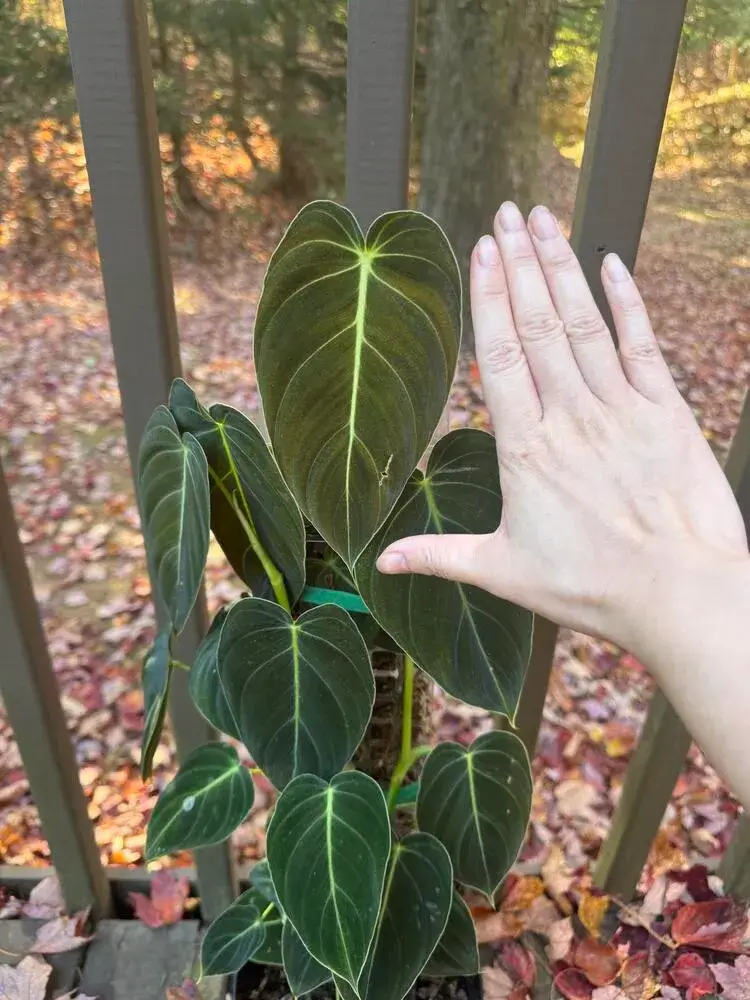
What stood out to me most was that the improvement was not limited to ideal conditions. Even once winter came, I did not move it into a greenhouse cabinet or run a humidifier for it, and it still held its condition surprisingly well.
I do not think a moss pole is a magic fix for every philodendron problem. But for climbing types that genuinely want support, I do think it can change both the direction of growth and the overall quality of the plant in a very visible way.
FAQ
Still exploring philodendron care?
If you’re comparing care routines, common problems, or indoor growing conditions, my main philodendron care page is the best place to keep exploring. It brings together the most useful guides in one place.
Go to Care Hub →